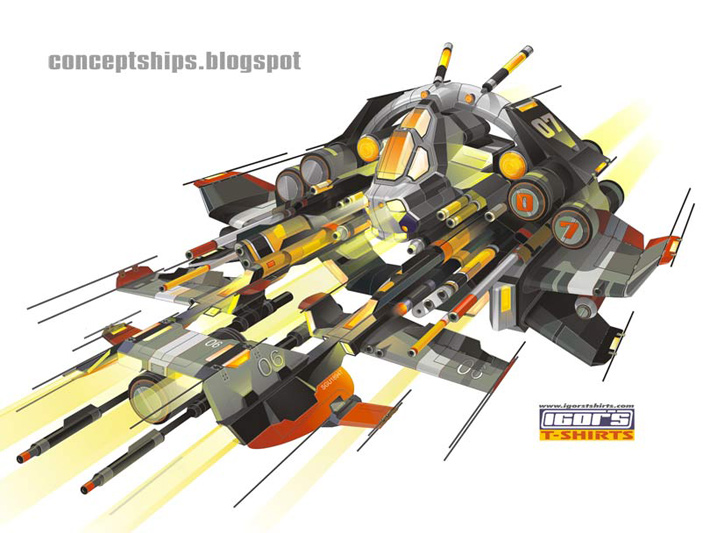
Here is a recent concept ship sketch done in Photoshop to be used as an underlying blueprint for a vector illustration.
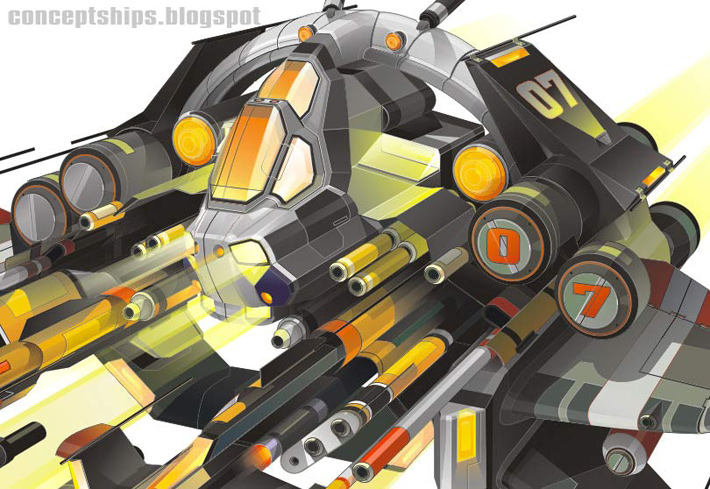
Here is the same concept elaborated upon in CorelDRAW X3 as vector art. Drafted at 180 inches wide and 120 inches high, it combines for a total of 2,650 shapes and took around 200 hours to build.
You can see a high resolution version of this concept vector spaceship right over here!
Keywords: concept ship spaceship art vector illustration done made in corel draw coreldraw 200 hours to complete 2,500 two thousand five hundred shapes layers inter active transparency tool
This is a pretty good way to key out any type of item or product that you might want to animate with a graphic background without doing any rotoscoping (cutting out the item from each sequential frame of video footage). The only drawback is that it requires a high definition television monitor at least a little bigger than the product that will be shot and a dv cam. (Digital video camera/camcorder:) I have a 16:9 45" Panasonic 1080i monitor/tv and a Sony VX-2000 digital camcorder that I used in this example.
Step 1: The first thing I had to figure out is how to get the monitor to show nothing but blue. I made a blue rectangle in CorelDRAW and used full screen preview to fill up every pixel line to show nothing but blue. You might have to get crafty if you don't own Corel Draw.
Step 2: While the digicam sits on a tripod, I positioned the toy about three feet from the HD monitor then zoomed in and focused the cam on the toy itself. The trick here is to soften up the blue using zoom and f-stop settings to "punch" out our subject a little more.
Here is the toy infront of the monitor.
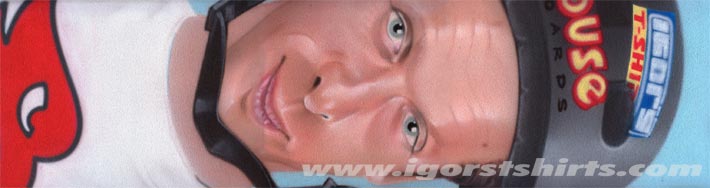
I still use Adobe Premiere 6.0 to do blue screen keying... Believe it or not. It has a super easy panel with a realtime update to show the edges while tweaking threshold and other settings to control spill. You can use whatever keying software you're comfortable with though... Of course. I filmed a street in downtown Denver while driving (shhhhhhh) and composited the footage behind my subject. I ran a flashlight over the toy bike to create the illusion of movement and moved Kaneda's head with a pencil for added realism:} Here is the final example.
I've got a more serious tutorial on how to do this with a clothing product coming in the near future... Look for it. Later!
I've had these four Discus fish for almost five years now. They are housed in a 140 gallon tall Oceanic aquarium and share the tank with two pretty large Clown loaches. These fish are a constant source of inspiration in the artwork that I produce. The Discus were purchased from Sunrise tropicals.
There are more pictures in a higher resolution RIGHT HERE.
I shot these with a Pentax istD using a Ricoh macro lens and heavy flash.
This is a scene I made for CG Society's Challenge based on Greg Bear's EON novel. It depicts one of the book's characters (MIrsky) flying up a meteor wall passing fellow cosmonauts along the way. I purchased an astronaut/cosmonaut model here and then modeled out the rocket pack using corelDRAW 12 and Lightwave. I drafted the jet pack in corel draw and extruded and beveled the data in Lightwave. It originally had a crane on the wing but I decided to delete it in the final render. Here is the corelDRAW illustration. I imported the Corel data into Lightwave and modeled the wing along with the pack. Here is the Lightwave render. I then took the head off of a Poser model and placed it into the cosmonaut helmet. Lens flares along with volumetric lights were made in Lightwave and the whole scene was composited in Aftereffects. The little thrust emitting from the jet pack is a Lightwave volumetric light render with an Aftereffects position.wiggle expression applied to it. Note the heavy depth of field applied and rendered directly out of Lightwave using the highest anti aliasing settings possible. A small subtle area light could have filled in the very darkest spots in the middle of the cosmonaut there... Ah well.... Next time.
The final is 1280 by 500 at 24 frames per second. Here is a compressed 720 by 281 24 fps version.
I had to remodel parts of the hands and middle section of the cosmonaut to make it work for my scene. The background (hard to see in this compressed sample) was a displacement map with motion and blur applied to it. The final animation is in .swf format. Software used: corelDRAW, Lightwave, Aftereffects, Photoshop, Poser and Flash. You can see a high definition version of this animated loop right over here. Thanks!
This was made in 2002. I took sixteen pictures of my SONY VX-2000 with my Pentax ZX-5 35 mm SLR camera using AGFA 50 speed film. I rotated the SONY camera on a tripod 1/16 of a 360 degree turn and snapped a picture from my SLR on another tripod until the VX-2000 made the whole 360... Sort of ghetto matrix style. I then rotoscoped around it using CorelDRAW. I made sure to leave part of the VX-2000 tripod in all of the pictures so I had a stationary object to register my frames to. The remains of the tripod were later erased in Photoshop. The camere here is shown with a SONY wide angle lens but I wish I would have done it with the .3x fish eye lens from Century optics since we have one of those too. Software used: CorelDRAW, Photoshop, Aftereffects and Flash
The VX 1000 and 2000 were revered as the skateboarder's camera. They (SONY) have seemed to stop focusing on competing with Panasonic for the top spot in the HD 24P digital consumer camcorder department.
Hello there, I made this motion graphic a while ago... 2002-2003. I've been airbrushing skateboard griptape since 1989 and thought it might make an interesting multi-media graphic to combine all of the elements together into a Flash loop.
Tony from the denver shop gave me a blank shop deck which I sprayed yellow using some good old Krylon paint. I then vectored out the griptape letters for the bottom of the board using CorelDRAW and cut them out with my Roland vinyl cutter. I stuck 'em on the skateboard, applied a fresh sheet of griptape on top and airbrushed the word airbrushed on it using a Paasche VL airbrush.
I took some pictures of a train yard and composited a pic of professional skateboarder Stevie Williams into the scene using Adobe Aftereffects. I filmed the skateboard with my Sony VX-2000 digi cam while spinning it holding it with one finger on the nose with the tail on the ground. I had to roto around the skate which did not turn out as good as I would have liked because I did not film the skate against a contrasty background but eh... This is pretty old and I'm a little wiser now.
Kind of a crazy combination of black and white, sepia and color. Here are some airbrushed griptape samples...
Nathan Fantasia
Steve Irons
Tony Hawk
You can see more examples of my airbrushed griptape right over here. Happy Labor Day!


